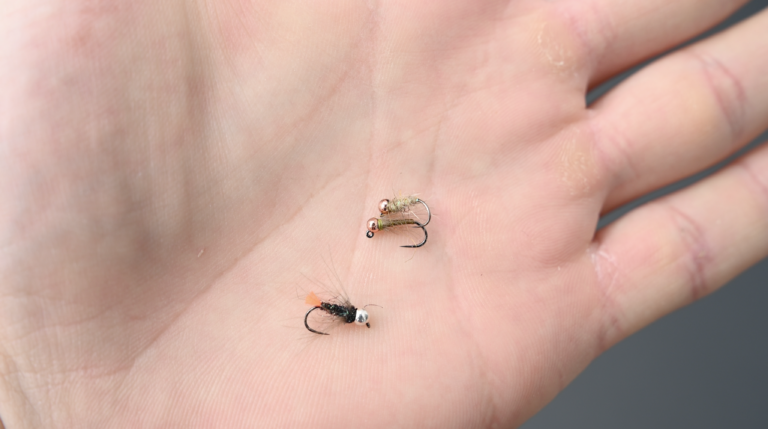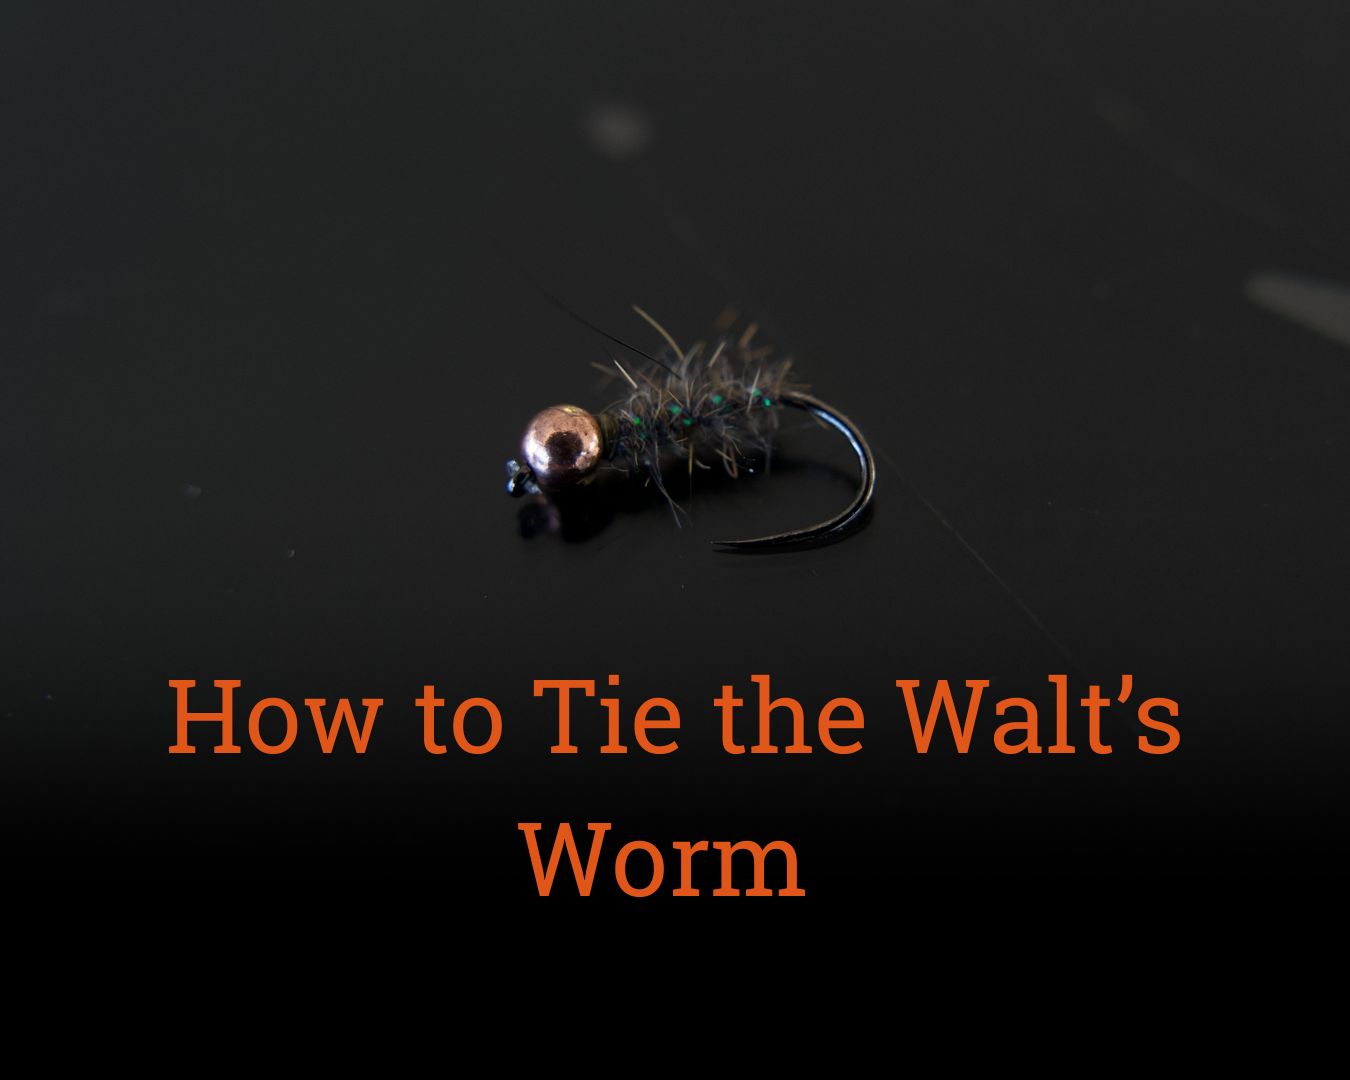
The Walt’s Worm is one of the simplest and most effective nymphs ever created. It’s buggy, suggestive, fast to tie, and deadly in nearly every river system. This version sits halfway between a classic Walt’s and a Sexy Walt’s—with a flashy Sulky rib, but no hot collar. This video goes over how to tie the Walt’s Worm, as well as my theories behind color choice and hook and bead selection for the best success and hookup percentages.
How to Tie the Walt’s Worm: Step-by-Step Instructions
Materials
The provided links are affiliate links – shopping through these provides me a small commission at no additional cost to yourself. Thank you!
Hook: Fasna F-100bl Dry Fly Hook
Size 16 shown; commonly tied in sizes 8–22Thread: Veevus C11 12/0 Grey Olive (or a natural-tone match)
Dubbing: Troutline Pure Squirrel dub- Natural grey squirrel (You can use whatever you prefer)
(Optional) Micro dab of super glue for durability
Step 1: Add the Bead
Slide the bead onto the hook slot side back, then secure the hook in the vise.
Step 2: Start the Thread
Attach your thread immediately behind the bead
Wrap slightly rearward with touching turns to create a base
Cut the tag end clean
Step 3: Tie in the Sulky Rib
Cut a short piece of Sulky tinsel
Tie it in right behind the bead
Secure it with several tight wraps, then wrap it all the way to the hook bend
This saves time versus setting a thread base all the way to the bend, coming back up, then tying in the sulky
Step 4: Prepare the Dubbing
Pull a wispy clump of squirrel dubbing (about thumb-sized)
Lay it onto the thread and twist with your thumb and forefinger in one direction to form a noodle, keeping it thin with a gradual front taper
Step 6: Dub the Body
Wrap the dubbing forward with tight, even turns, creating a smooth taper
Stop just behind the bead
Add a touch more dubbing if needed to complete a clean taper
Step 7: Seat the Bead
Before finishing the body:
Rotate the bead so the long side of the slot is on top and the bulk of the bead sits above the shank. This helps open the hook gap and encourages the hook to ride the drift point up.
Step 8: Counter-Wrap the Rib
Counter-wrap the Sulky rib forward (opposite direction of dubbing)
Use 4 wraps, give or take one depending on hook size
Secure the rib behind the bead with 3 tight thread wraps
Put some tension on the rib and cut it flush
Step 9: Finish the Fly
Whip finish with at least 5 turns
Optionally, add a micro dab of super glue for added durability
Trim thread