The Origins of the CDC France l
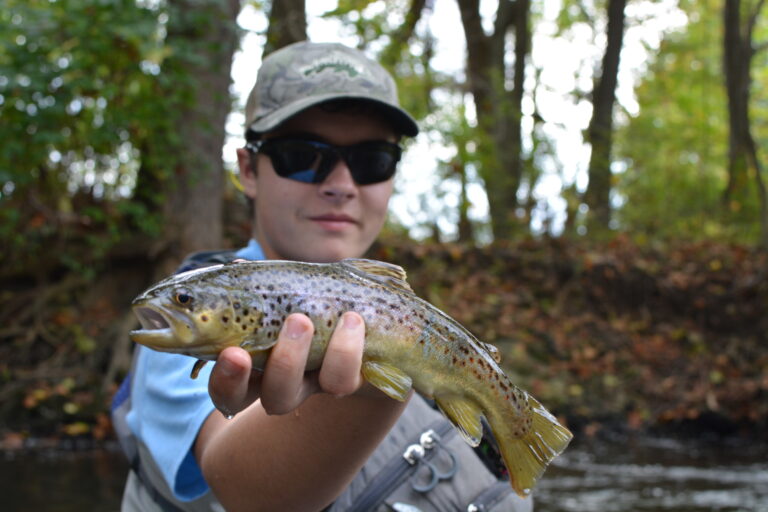
The France fly has a long and successful history in competitive fly fishing. Originally created by a youth angler at a World Youth Fly Fishing Championship in France over a decade ago, it was designed as a thin, smooth, fast-sinking nymph that was faster to tie than a standard perdigon. After that championship, the pattern made its way back to the U.S. and quickly gained popularity among competitive anglers. Today, it’s also found a solid place in recreational fly boxes, even if it hasn’t quite reached the fame of classics like the Hare’s Ear or Pheasant Tail.
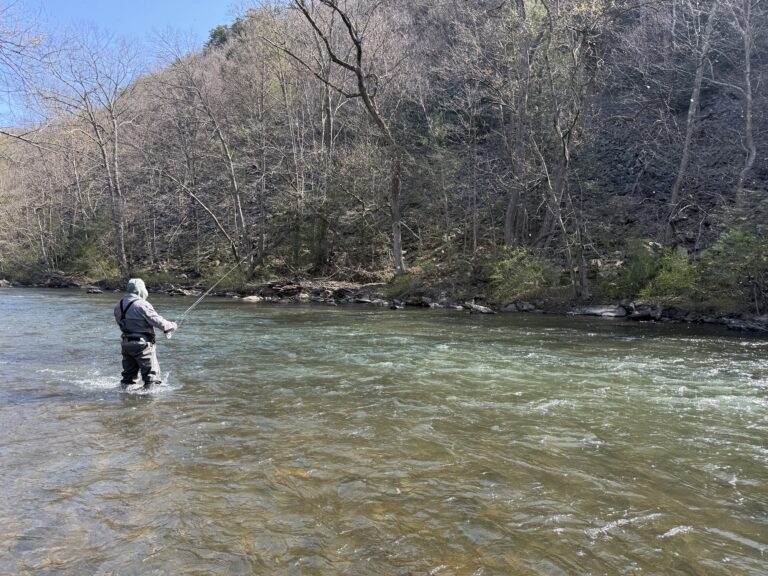
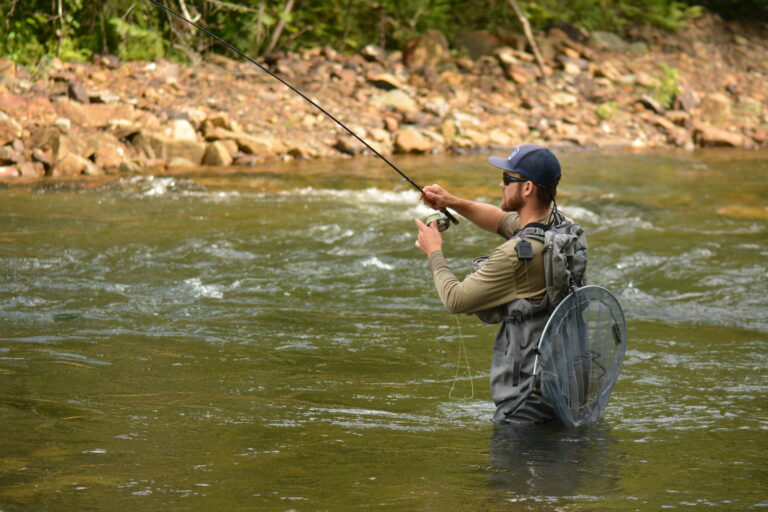
I started fishing the France fly around 2015, and it’s been a staple for me ever since. In 2018, during a Youth National Championship in North Carolina, my teammates. The fish were eating France Flies pretty well, but by adding a CDC collar, we dramatically increased our success and went on to win the championship as a team. Since then, I’ve refined the pattern by removing unnecessary materials, creating a more streamlined, faster-tying fly that still produces numbers. The CDC France fly is now one of my go-to patterns, especially in spring and summer when bugs are active.
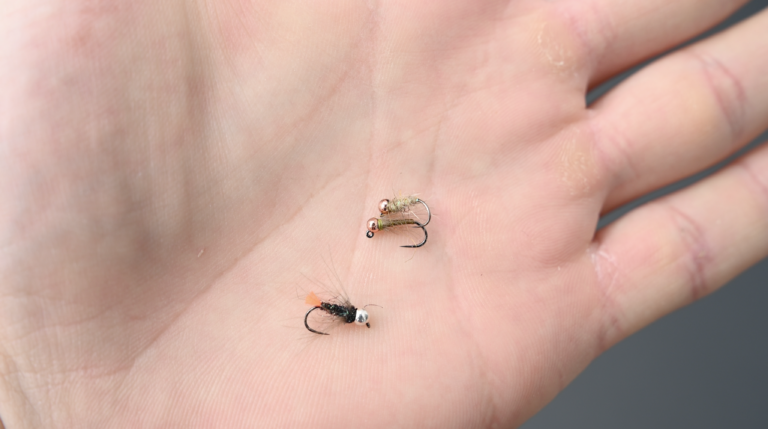
Materials
Hook: Size 14–20
Recommended: Fasna F-100BL or Dohiku 301 dry fly hookBead: 2–4mm slotted tungsten bead (silver or copper)
Shown: Tactical Fly Fisher 3mm silver beadThread: Semperfli Classic Waxed or similar
Body: Wapsi Micro Vinyl Tubing
Collar: Natural undyed CDC feather
Note: Dry fly hooks are used here for their thinner wire, which improves penetration on quick strikes, but any hook style will work.
Step-by-Step Tying Instructions
1. Mount the Bead and Start the Thread
Slide the bead onto the hook with the slot facing back. Place the hook in the vise, making sure the longer side of the slot is on the bottom—this opens the hook gap and helps the fly ride hook-point up. Start your thread just behind the bead and wrap back toward the bend.
2. Secure the Micro Tubing
Cut a piece of micro tubing and position it so about 1mm sits inside the bead slot. Wrap your thread tightly over the tubing down to the bend, then bring the thread back up to the bead.
3. Build a Light Taper (Optional)
For a slightly thicker profile, create a subtle taper by making thread passes:
Down two-thirds of the shank, back to the bead
Down one-third of the shank, back to the bead
This step can be skipped if you want an ultra-slim body.
4. Wrap the Tubing Body
Pull the tubing firmly to stretch it thin and begin wrapping it forward with touching turns. Keep strong tension for the first third of the body, then ease off slightly as you approach the bead. Secure the tubing with tight thread wraps and trim it flush, pulling it slightly before cutting helps hide the tag end.
5. Prepare the CDC Fibers
Clip the tips of a CDC feather using a CDC clip (or any small clamp). Cut the fibers free from the stem, you only need about ¼ inch. Lightly flick the clipped fibers to remove excess fluff. Keep the bundle sparse; you just want a bit of added movement, not a bulky fly.
6. Split the Thread
Spin your thread counterclockwise to flatten it. Using a hook point or thread-splitting tool, carefully separate the thread into two strands and hold them apart under light tension.
7. Insert and Spin the CDC
Place the CDC fiber butts between the split thread strands and release tension so the thread clamps down. Remove the clip carefully. Trim the butts closer to the thread if need be, then spin the bobbin clockwise to twist the CDC into a rope.
8. Wrap the CDC Collar
Stroke the fibers back and make one full wrap of the CDC brush behind the bead (more if desired, but sparse is best). You can remove excess fibers if it looks too bulky. Secure with a few tight thread wraps.
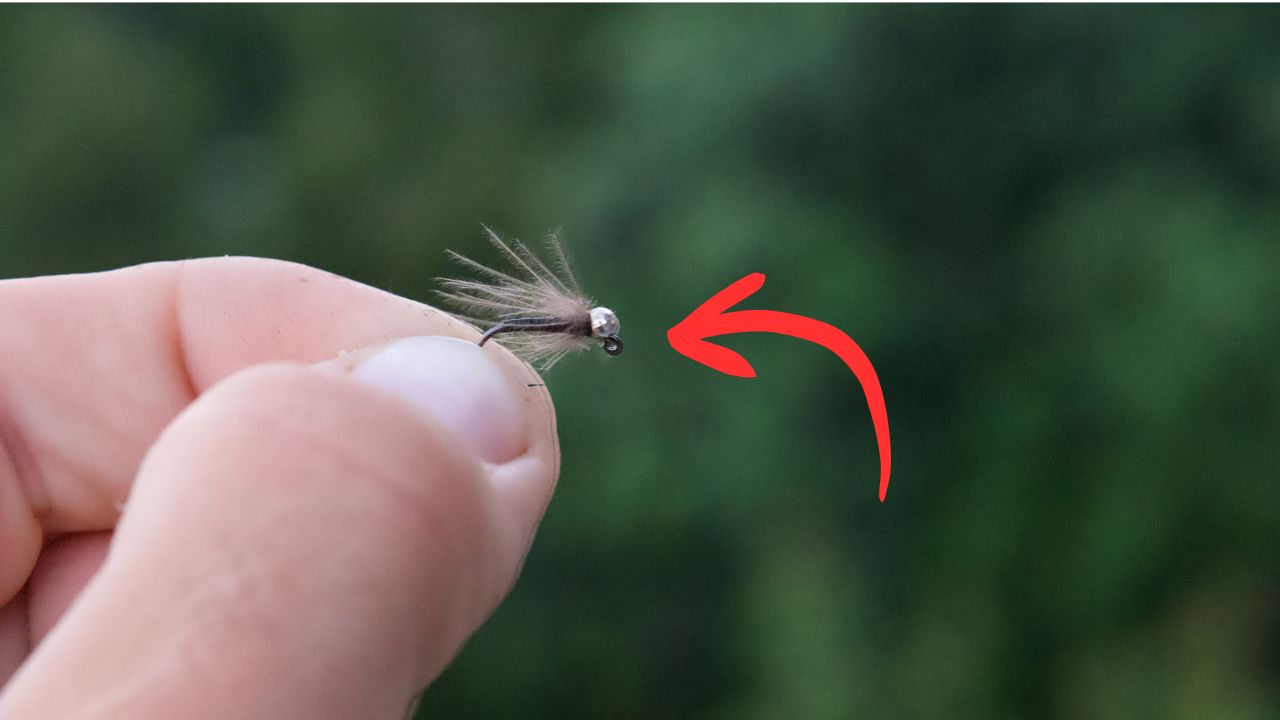
9. Finish the Fly
Whip finish with 4-5 turns and cut the thread. To finish, shorten the CDC slightly by pinching and tearing the fibers just past the hook bend. Never cut CDC, it creates a very squared off, unnatural profile. Tearing leaves the fiber tips uneven and creates a nice taper.