Why do Micro Leaders Stick, and How does Wrapping Help?
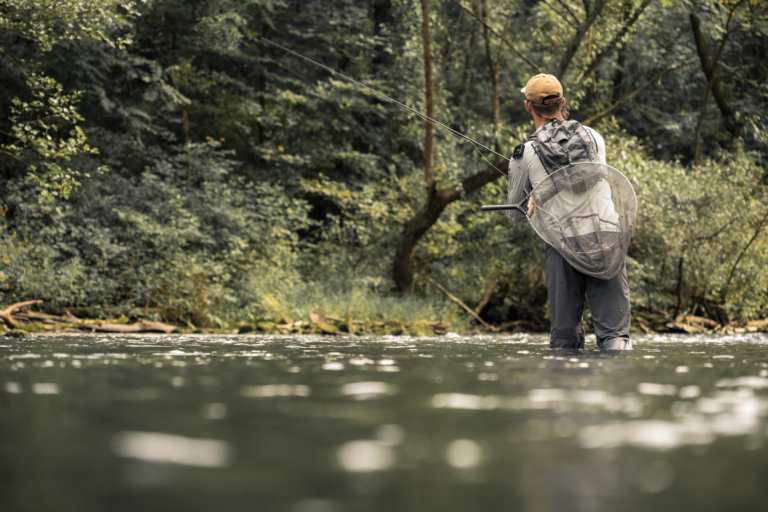
Micro leaders are great solutions to a lot of euro nymphing problems, but as you go thinner and thinner, new issues start to emerge. One of the most frustrating aspects of fishing a micro leader system is leader stick. This phenomenon occurs when the rod blank gets wet, and a thin layer of water sticks to the blank (section about absorption). The water acts as a sort of glue and sticks the leader to the blank. Depending on how light your system is this can make it difficult or impossible to shoot any leader through the guides, stunting your casts and hurting your accuracy.
Usually leader stick is the worst during the rain, when the blank gets wet and has no chance to dry, but it happens to a lesser extent any time you dip your tip into the water to do something like try to untangle a wrapped leader. Luckily, there is a pretty surefire way to defeat leader stick entirely- spiral wrapping the rod with monofilament. Spiral wrapping provides some separation of the leader from any moisture on the rod blank, so it never has a chance to stick even in the heaviest downpour. Without a spiral wrap on your rod, you’ll have an incredibly hard time fishing through all the conditions we experience out there.
The video above goes through how to do it step by step, but I’ve outlined it below as well if you prefer written instructions.
How to Spiral Wrap a Euro Rod
Spiral wrapping a rod is a pretty straightforward process, and should only take you ten or fifteen minutes. The wrapping itself is pretty intuitive, but tying everything off can get a little tricky because everything can unravel if it slips out of your fingers. There are a lot of different methods, but I’ve found this one to be a good mix of simplicity and performance.
What you need
1.) The upper three sections of your rod
2.) A spool of 70 denier thread, brand and color of your choice
3.) A spool of 6lb (0.009”) monofilament, brand and color of your choice- I prefer Maxima Chameleon
3.) A bobbin
4.) Superglue (preferred) or UV resin, any brand
5.) A pair of sharp scissors
Step 1: Make a Stopper Knot
The first step in the process is adding a simple overhand knot to the monofilament you’ve chosen. Tie the knot in the end, pull it as tight as you can, and trim the tag as close to the knot as possible. This knot helps hold the mono in the thread wraps while wrapping it around the blank.
I have been asked why I choose nylon mono instead of fluorocarbon, and the answer is the weight. Spiral wrapping a rod does affect its action, as does adding any other weight like guides and thread wraps. The trade off for eliminating leader stick is worth the relatively small effect, but the less weight I can add the better, and mono is just a tiny bit lighter. The exact brand isn’t terribly important, but Maxima has worked well for me.
I’ve chosen 0.009” mono for a similar reason. It’s just thick enough to separate the leader enough to prevent stick without being overkill or adding excessive weight. I have tried 0.007” and 0.008” as well, but find that you have to keep the wraps a bit closer together to get the same benefit (ie use more), which negates the point of a thinner mono, and it’s less durable.
Step 2: Tie the Mono to the Blank
Put the mono aside for a minute and grab your thread, bobbin, and first rod section. Pinch the tag end of the thread to the blank and begin wrapping the thread around. Depending on how the guides are laid out on your rod, it may make more sense to do this either right above the ferrule or above the lowest guide if it’s close.
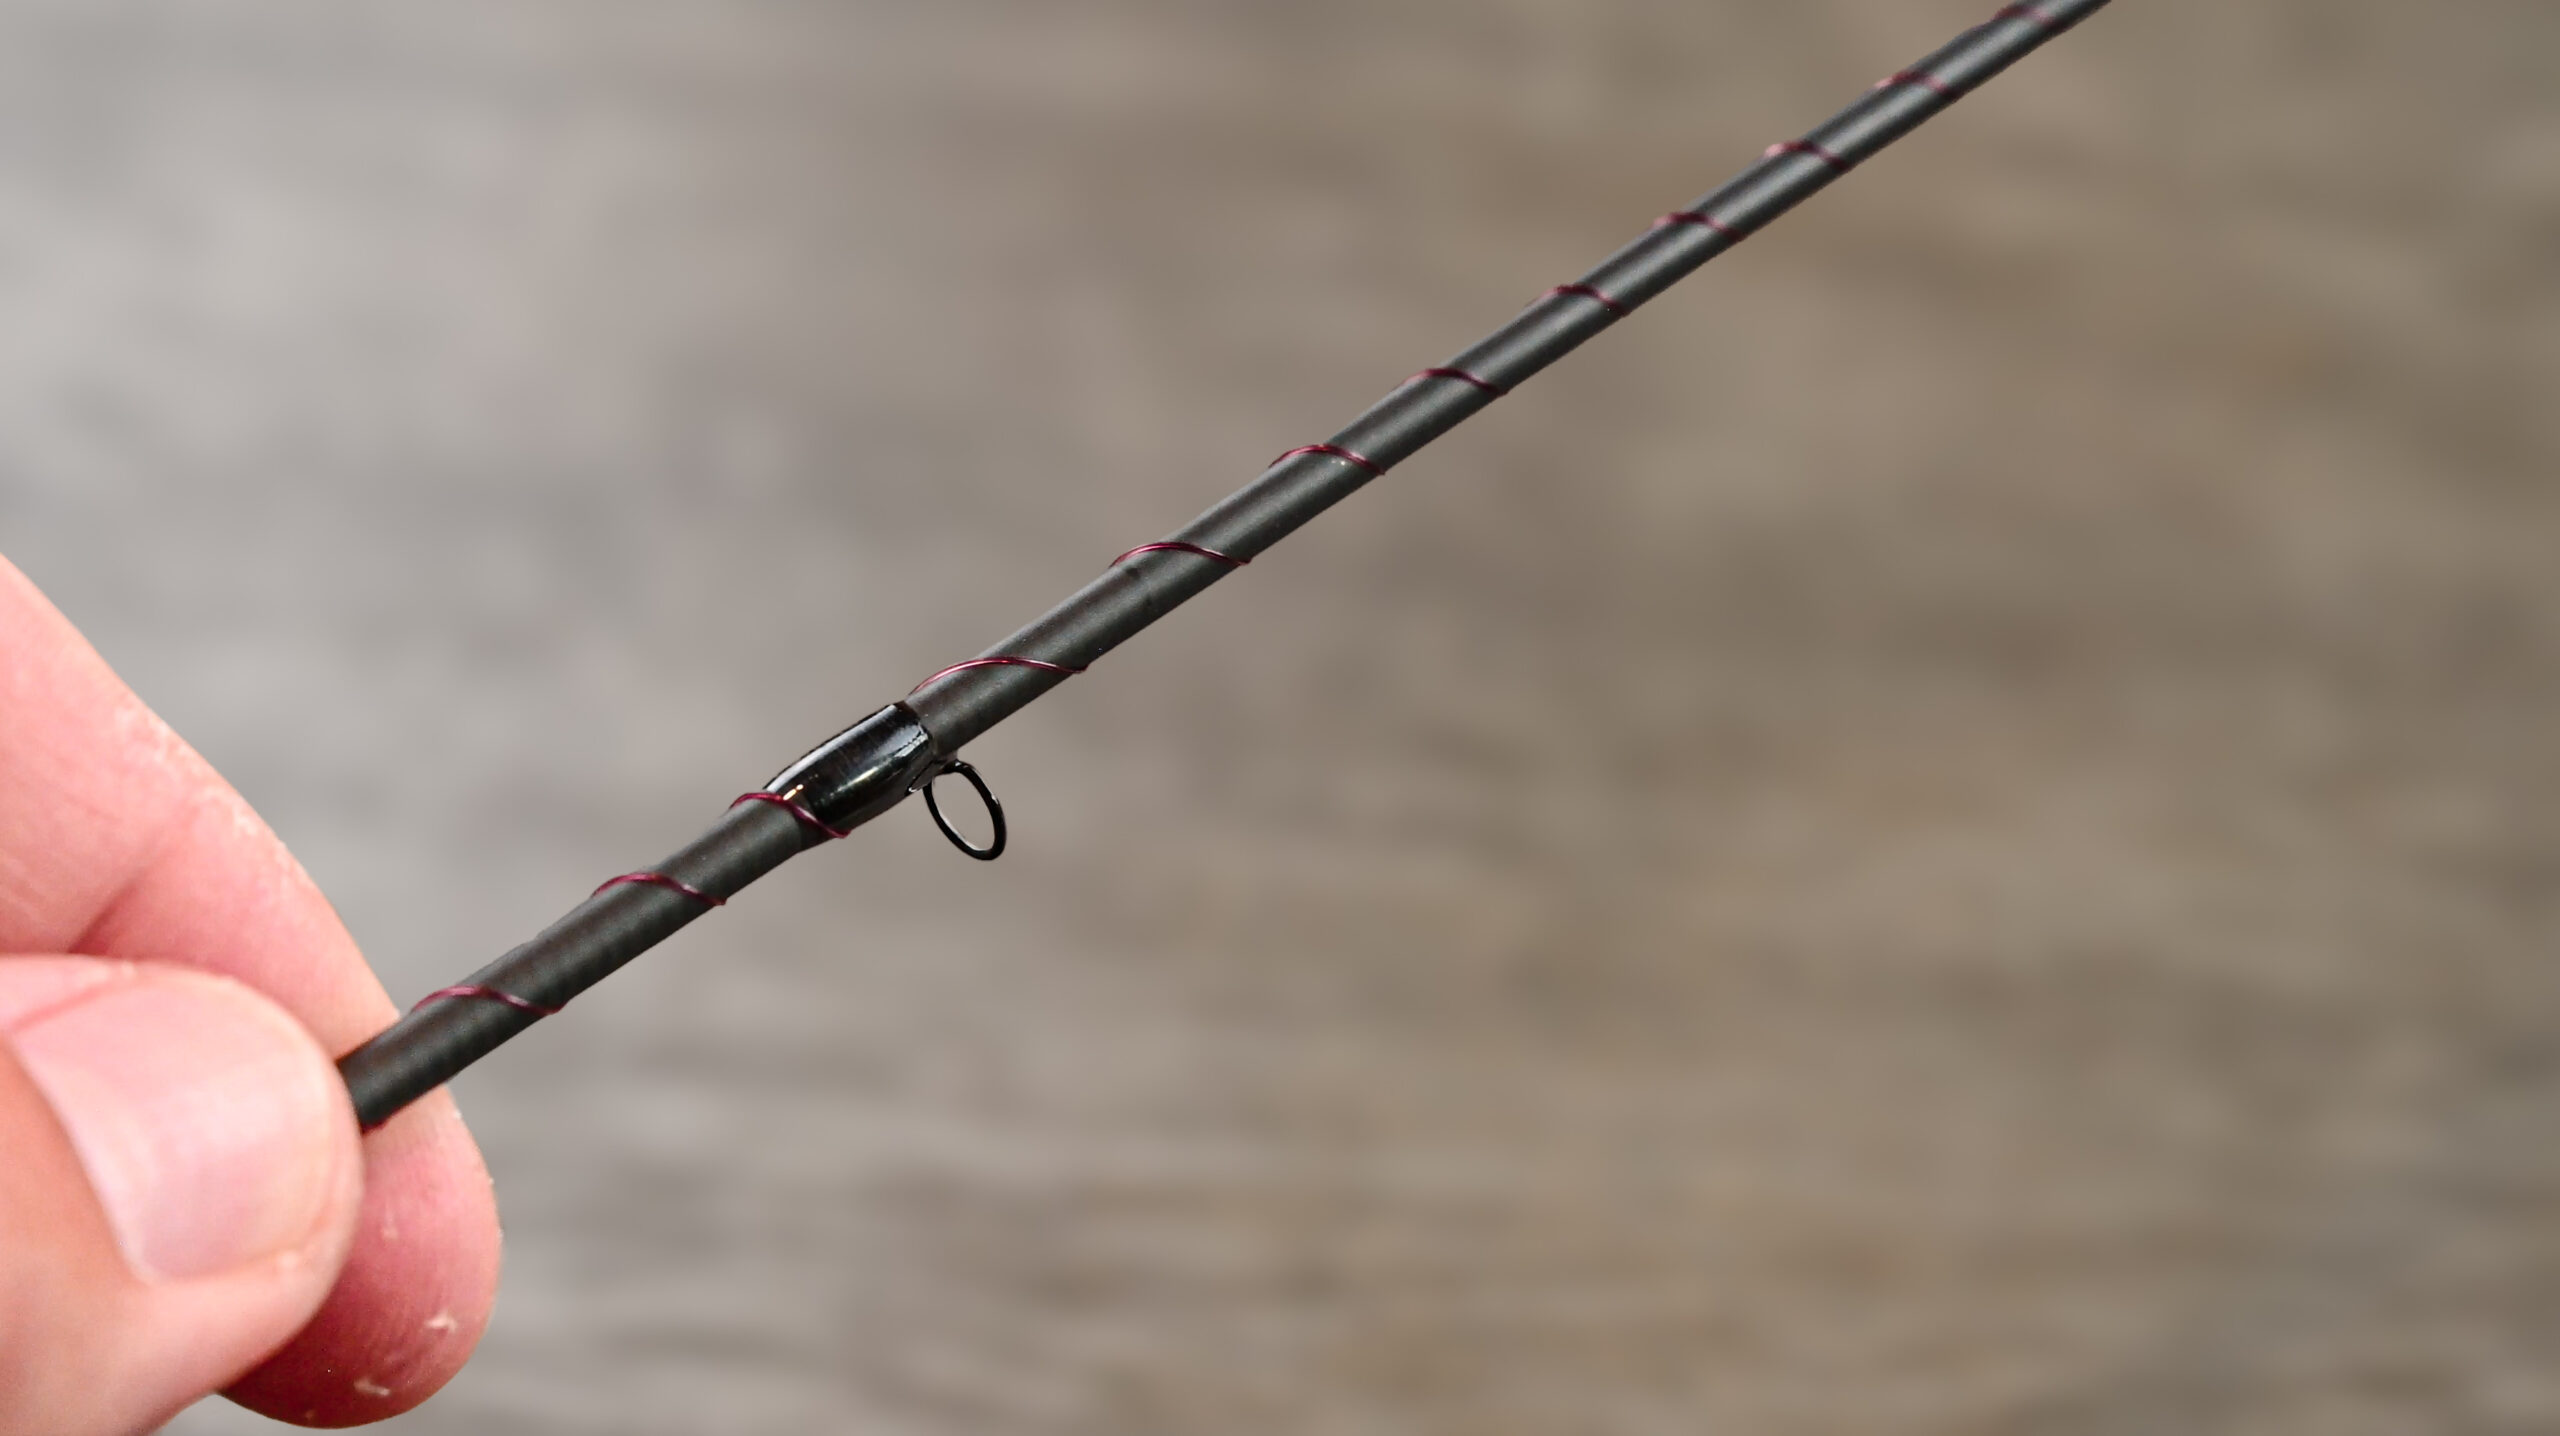
Make five to seven wraps over each other to hold the thread in place, then cut the tag flush. When that’s done, grab your knotted mono and place it over the thread directly on the spine (back) of the rod. I tie it in on the back to avoid any chance of the knot catching the leader. Make another five to seven wraps over the mono, the pull it forward to seat the knot on the wraps. Make two or three half hitches to hold it together, and cut the thread flush.
Step 3: Spiral Wrap the Mono
This step is a bit hard to describe and may be where the video becomes more useful. The easiest way to spiral the mono up the rod is to use your non-dominant hand as a guide for the mono, and turn the rod with your dominant hand while moving it down to wrap the mono up the blank. Use your non-dominate hand to moderate the tension- you want it relatively tight but it doesn’t have to be crazy. You have to moderate the speed at which you turn the rod and move it down to control the spacing between the wraps. At the start I like to keep them a bit less than a half inch apart on the tip, between a half an three quarters of and inch on the tip-mid, and a bit over three quarters on the butt-mid, and taper them a bit closer on each as I wrap up the blank. It may all sound a bit complicated but it’s fairly intuitive when you actually try it.
Step 4: Tie it Off
When you reach the end of your section, it’s time to tie the mono down again with thread. Make sure on the butt and tip mid sections that you do this below the ferrule connections to avoid blocking the sections seating together. To start, cut your mono a bit longer than the section. Grab your thread and again start it off with five to seven wraps to hold it to the blank, and cut the tag flush. Take the mono and hold it ti the blank with your non-dominate thumb and forefinger. Make another five to seven wraps to hold it in place, and trim it as flush as possible. Then make another handful of wraps to bury any bit of tag that’s left. Same as the start, make a few half hitches to hold it in place, and trim the thread as flush as possible.
Step 5: Glue it Down
When your rod is fully wrapped, it’s time to keep it in place with some superglue. I used to use true rod building epoxy for this, but the issue is that mono wraps don’t last forever, especially on the tip. Between constant flexing, being hit off trees and rocks, and general exposure, the mono will break at some point. When that happens, you have to strip everything off and redo it. With a light superglue, stripping it off is fairly easy. With a twelve hour epoxy, it’s a good bit harder and can damage the blank. I’ve not found any real reason for a more durable coating either as the mono always breaks in the middle before the wrapping will. You can also split the middle and use a softer UV resin if you prefer.
Put a small dab of superglue on either side of the wrapped area, enough to spread around all the fibers. If too much come out you can dab it off with a paper towel or the applicator. Quickly spin it in your fingers to work the glue in and help it cure. Repeat for every wrapped area.
Step 6: Go Fish!
Repeat those steps for the remaining two upper sections, and you’re good to go. Spiral wrapping using this method should last a solid six months or so, depending on how much you’re fishing and how many trees you’re hitting. When it does break, use a razor to remove the thread, and re-wrap. After a few times it should feel pretty easy. If it happens to break while you’re fishing in the rain (which has happened to me), you can unwrap and rip the mono from the thread, and do an emergency wrap by tying a clinch knot to the base of the section with the heaviest tippet you have, wrapping it up, and tying it off with a clove hitch above the last guide in the section. It’s not great and wont last terribly long, but it works!
Happy fishing,
Mike Komara